Making Your Cat Comfortable
To ensure a smooth transition for your new cat, keep them separated in a designated room for 10-14 days with clear access to food, water, and a litterbox.
Introducing Your Cat To Other Pets
When introducing your new cat to other pets, use baby gates to allow visual interaction while preventing physical contact. Scent swapping can also help animals acclimate by familiarizing them with each other's scents.
Getting Used To Your Presence
Be patient as your new cat gets used to your presence. Reading out loud while in the room or leaving something with your scent on it can help your new cat acclimate to you.
Exploring the Home
As your cat feels more comfortable, they'll greet you when you enter the room, indicating that they may be ready to explore the rest of your home.

Reward Your Dog
Dogs learn by association, so reward your dog's good behavior with treats and praise, and ignore unwanted behavior.
Be Consistent
Don't let a puppy get away with things you don't want them to when they're older. Make sure all the family enforces the same rules so that your dog doesn't get confused.
Be Positive
Keep training sessions friendly and positive, and always end a session on a happy note with praise and petting. If you're not enjoying the training, neither will your dog.
Have Patience
Don't have unrealistic expectations. You're much more likely to remain patient if you don't set your sights too high when starting out. Enjoy the training process.

Picking a Cage
The ideal hamster home is as big as you can make it, full of deep bedding (4-6”+) to burrow in and lots of enrichment.
Furnishing a Cage
Hamsters are most active overnight, so their cages should provide everything they need to stay busy while you’re asleep, including a solid exercise wheel, food, water, and plenty of toys to chew, climb, and explore.
Feeding Your Hamster
For a balanced diet, offer hamsters a combination of lab blocks and seed mixes in a forage or 'scatter' style to mimic natural feeding behaviors and keep them mentally engaged.
Cleaning a Cage
Remove spots of soiled bedding and droppings daily, and replace all bedding weekly. The entire cage should be thoroughly cleaned once a month with gentle products to avoid irritating your hamster's sensitive respiratory system.
Handling
Do not wake up your hamster while they’re sleeping to play—they may startle and bite. Wait until your hamster is active in the evening and incorporate some tasty treats to build trust during your handling sessions.
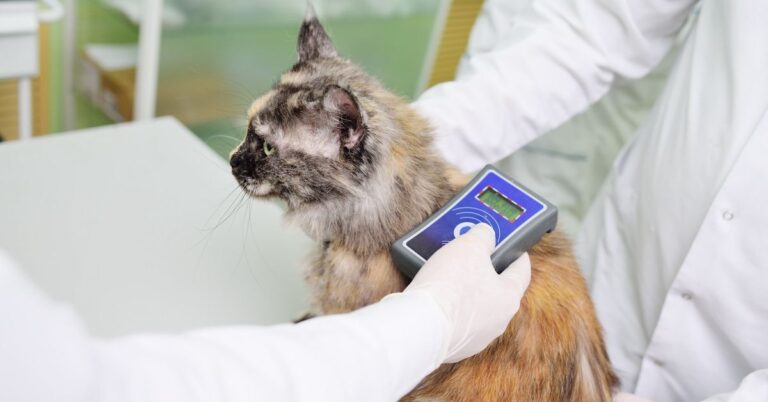
Managing Your Hamster's Health
You can prevent several common health issues by reducing stress on your hamster and providing proper care when handling or introducing new foods. Always check with a small animal vet if you’re concerned about any changes in appearance or behavior.

Setting Up Safe Indoor Housing
Rabbits can be housed indoors in a bunny-proofed room, a puppy pen, a bunny condo, or a large rabbit cage with enough space for them to hop around. They'll need a few hours of exercise outside their pen every day.
Bunny Proofing Your House
To keep your rabbit safe and protect your belongings, thoroughly bunny-proof their space by covering or elevating wires, baseboards, and other valuables.
Feeding Your Rabbit
A rabbit’s diet should mainly consist of fresh hay with baby rabbits eating alfalfa and adults consuming timothy, grass, or oat hay. Supplement their diet with fresh vegetables, fiber-rich pellets, and fresh water.
Setting Up a Litter Box
Rabbits naturally prefer to use one area for waste, so set up a medium-sized cat litter box or shallow bin near their food/water bowls and hay feeder. Use a thin layer of rabbit-safe, recycled newspaper pellet litter at the bottom, and place hay on top to encourage your rabbit to use the litter box.
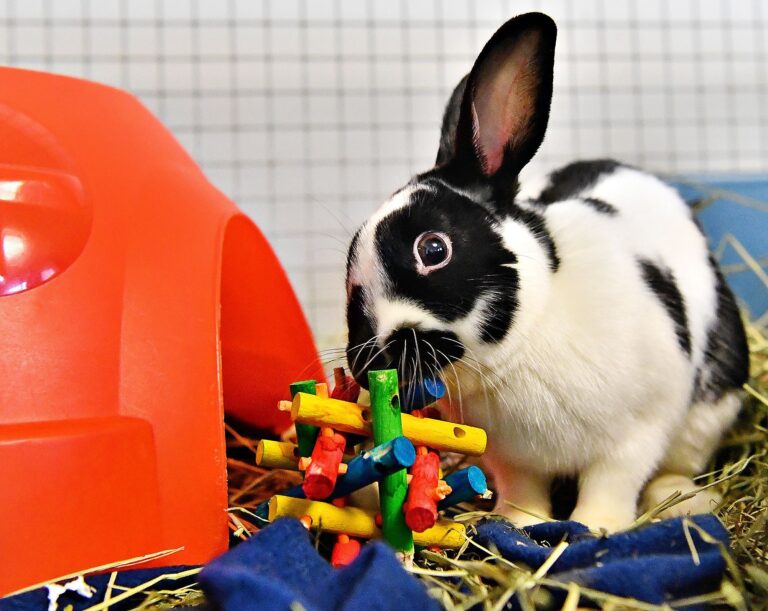
Providing Enrichment
Rabbits require both physical space and mental stimulation to prevent boredom. Cardboard castles and boxes are excellent for chewing and offer a quiet refuge. There are also a variety of toys that can keep your rabbit engaged and entertained.
Grooming Your Rabbit
Although rabbits wash themselves frequently, regular grooming is essential to remove excess fur and prevent digestive issues from ingested hair. Regularly clipping their nails is also crucial to avoid discomfort or injury.
Managing Your Rabbit's Health
Since rabbits hide symptoms of illness due to their prey instincts, you must monitor their eating, drinking, and digesting closely. It's best to schedule routine veterinary checkups and speak with your vet about any changes in appearance or behavior.